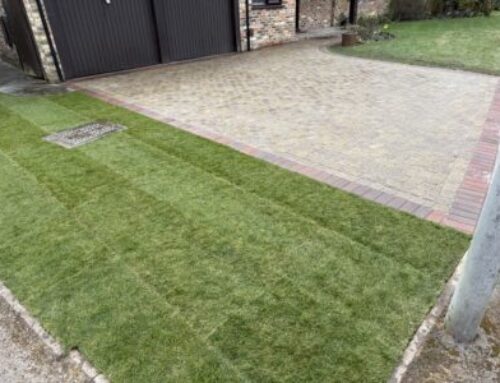
Introduction
Block paving is a popular choice for driveways, patios, and paths in the UK due to its durability, aesthetic appeal, and versatility. However, laying block paving can be a challenging task if you don’t know where to start. This guide will provide step-by-step instructions on how to fit block paving effectively and efficiently.
Preparation is Key
The first step in any successful block paving project is thorough preparation. This involves several stages:
1. Site Clearance: Clear the area where you intend to lay the blocks. Remove any existing surface material such as grass or concrete.
2. Excavation: Dig down to a depth of about 20cm (for driveways) or 15cm (for patios and footpaths). This allows room for the sub-base, sand bed, and blocks.
3. Edge Restraints: Install edge restraints around the perimeter of your excavation. These can be pre-formed kerbs or new kerbs set in concrete. They prevent lateral movement of blocks and maintain the structural integrity of your paving.
4. Sub-Base Installation: Fill the excavated area with a sub-base material (usually MOT Type 1) up to a depth of 10cm-15cm, then compact it using a plate compactor.
Laying The Sand Bed
After preparing your base, it’s time to create a sand bed for your blocks. Spread sharp sand evenly over your compacted sub-base until it’s about 5cm deep. Then level it out using a straight piece of timber that spans across your area’s width.
To ensure proper drainage, create a slight slope on your sand bed away from any buildings or towards a suitable drainage point. The recommended fall is 1cm drop per every 60cm length.
Laying The Blocks
Now comes the exciting part – laying your blocks. Start from one corner and work your way across your area, placing each block tightly against the last. Use a rubber mallet to tap each block down into the sand until it’s level with the surrounding blocks.
Remember to mix blocks from different packs as you lay them to ensure a natural blend of colour and texture. Also, keep checking your alignment with a string line and level.
Cutting The Blocks
Inevitably, you’ll reach a point where full-sized blocks won’t fit. This is where you’ll need to cut your blocks. Mark the required size on your block using a pencil and straight edge, then cut it using a block splitter or power saw with a diamond-tipped blade.
Filling The Joints And Compacting
Once all your blocks are laid, it’s time to fill the joints. Sweep kiln-dried sand over your paving, making sure it gets into every joint. Then compact your paving using a plate compactor. This will force the sand deeper into the joints.
Repeat this process until all joints are fully filled with sand. Finally, sweep off any excess sand and give your new paving a good clean.
Conclusion
Learning how to fit block paving can be quite rewarding, especially when you see the final result of your hard work. Although it might seem daunting at first, following these steps will help you lay block paving like a pro.
Remember that good preparation is key to achieving great results. Also, don’t rush – take your time to ensure each stage is done correctly before moving on to the next one.
With patience and perseverance, you can create beautiful and durable block paving that enhances the look of your property while also increasing its value.


